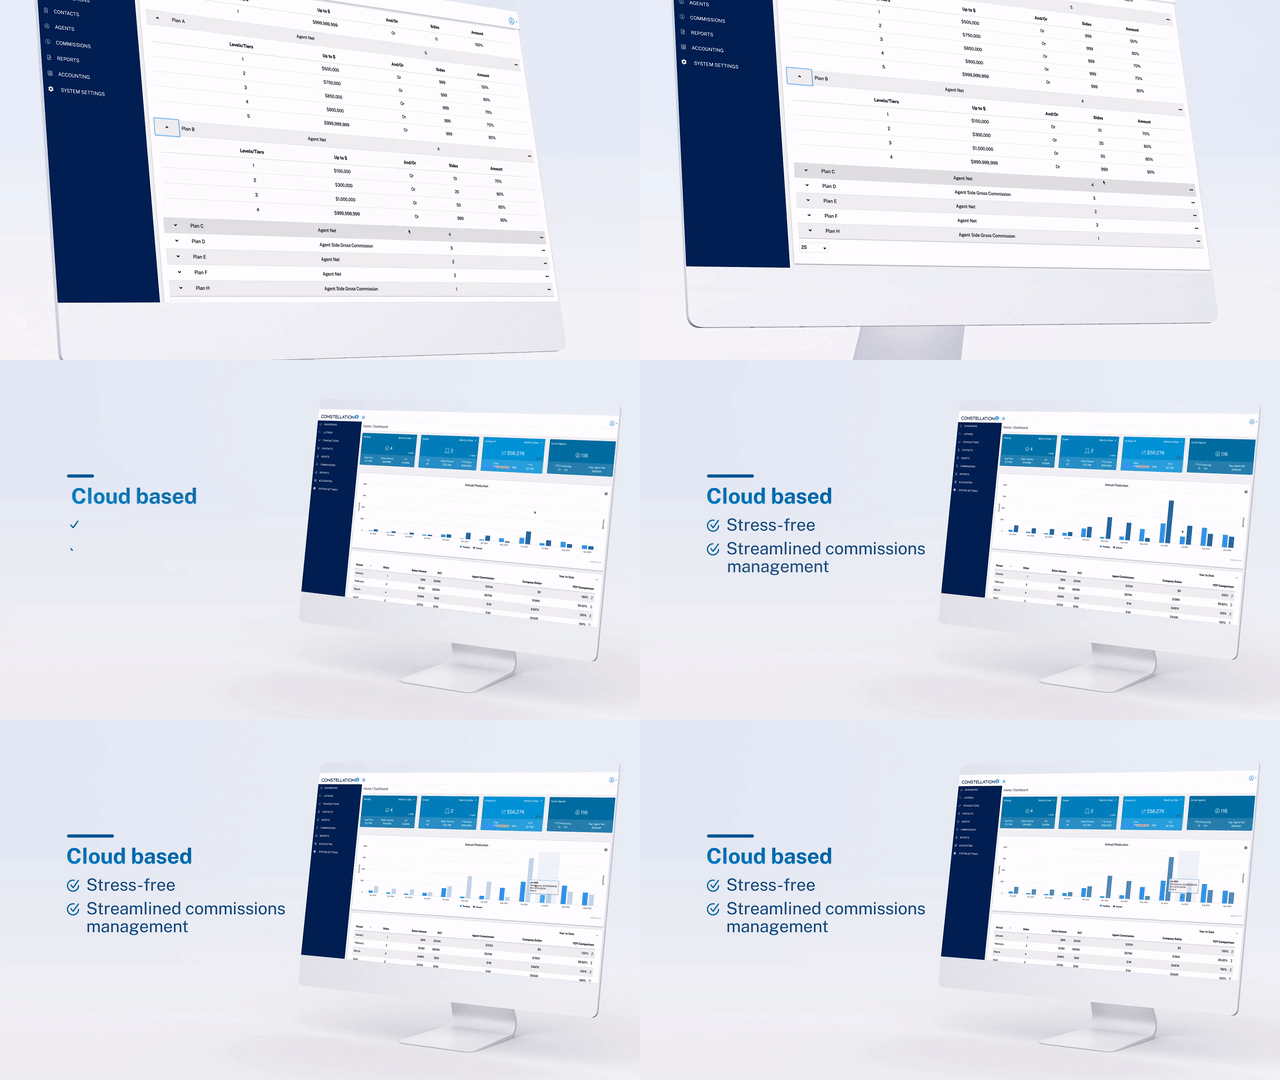
The best real estate commissions software
Upgrade to the industry’s most customizable, easy-to-use, and seamlessly integrable commissions solution to streamline your back office and free up more time to focus on your business.

Simplify real estate commissions management
Data Insights
Key data at a glance in the Commissions dashboard and robust reporting features
Time-Saving Tools
Wizards and user flows that minimize training and save precious time
Closing Flexibility
Customize closing demands and commission disbursement forms
Error-Free Payments
Pay the right amounts to the right payees every single time thanks to QuickBooks® integration
Defined Deductions
Create your own pre- and post-split deductions for every plan
Effortless Automation
No more manual calculations or workarounds
Sleek, intuitive user interface
Redesigned user experience to reduce training time for fast adoption and make the app easy (and fun) for your entire team to use
Foolproof wizards
Avoid data entry errors and missing information with step-by-step wizards for adding transactions to the app and defining agent commissions plans
Customized commissions
Fixed, graduated, or 100% commissions, caps, fees, deductions, referrals… no rule or exception is too complex for the most customizable commissions app on the market, providing unprecedented flexibility for defining team- and agent-specific commissions plans
Seamless integrations
Integrates seamlessly with your existing TMS, accounting software (including QuickBooks®), and MLS, so you can integrate complete commission management into your current workflow or pair it with your favorite software
Painless payment management
You get the peace of mind knowing your partial or closing payments to your agents, listing brokers, referrers, and other third parties are tracked, on time, and error-free
Robust reporting
Make informed business decisions and optimize your splits and fees thanks to real-time, easy-to-read production and financial reports with customized fields you can drag and drop to visualize all your data
Revamp your back office today
There’s no easier way to modernize your brokerage than by switching to the Constellation1 Commissions, the new way to run your back office. Let our experts show you how.
